Love this? Save it for later!
Share the inspiration with your friends
My son had refused to eat a sandwich for three entire years. Three years of bento boxes coming home with the bread dried out and the filling untouched, three years of me trying every trick in the book. Then I found him standing on a stool in my kitchen at 7 AM last Tuesday, carefully pressing the edges of a sunbutter and jelly uncrustable I had just made for myself. He was eating it before I could even say a word. Honestly, I almost cried right there in my pajamas. That moment changed everything about our school morning routine, and let me tell you, it wasn’t the fancy organic bread or the expensive jam that did it. It was the simple, nut-free combination that finally clicked for him.
I had been so focused on making Pinterest-worthy lunches that I forgot the most important thing—kids want food that tastes good and is easy to eat. The sunbutter and jelly uncrustable is exactly that. It is soft, sweet, and salty all at once, with no crusts to argue about. Maybe you have been there, standing over the trash can eating the crusts your kid left behind, wondering if lunch will ever be easy. I promise you, this recipe changes that.
What I love most about these uncrustables is how they solved a problem I had been wrestling with for years. My son has a nut allergy, and finding safe, tasty lunch options that he actually wants to eat felt impossible. This recipe became our go-to because it is nut-free, quick to make, and honestly, he thinks they taste better than the store-bought version. The way the sunbutter gets just a little warm and melty against the cold jelly—that is the kind of simple magic that makes a kid smile at lunchtime.
Why You’ll Love This Recipe
I have tested this recipe about a dozen times to get it just right. The first batch came out too dry, the second batch leaked jelly everywhere, and the third batch—well, that one was perfect. Here is why this version works so well:
- Quick & Easy: These come together in under 10 minutes. Seriously, you can make a whole week’s worth of lunches while your coffee brews.
- Simple Ingredients: You only need bread, sunbutter, jelly, and maybe a little butter for the outside. No fancy grocery trips required.
- Perfect for School Lunches: These are nut-free, peanut-free, and safe for most classrooms. No more worrying about allergy policies.
- Crowd-Pleaser: My picky eater devours these, and so do his friends. I have made them for playdates and birthday parties, and they disappear every time.
- Unbelievably Delicious: The sunbutter gets this warm, toasty flavor when you press the edges, and the jelly stays cool and sweet in the middle. It is next-level comfort food.
What makes this recipe different from the store-bought frozen ones is the texture. Homemade uncrustables have a soft, pillowy bread that stays fresh, and you can control exactly how much filling goes inside. Plus, you know every ingredient that goes into your child’s lunch. That peace of mind is worth everything.
This recipe isnt just good—it is the kind that makes you close your eyes after the first bite. It is comfort food reimagined for busy parents who want something safe, fast, and genuinely delicious. Perfect for impressing your kid without any stress at all.
What Ingredients You Will Need
This recipe uses simple, wholesome ingredients to deliver that classic PB&J flavor without any of the nut-related worries. Everything here is easy to find at your local grocery store, and most of it is probably already in your kitchen.
- Bread (8 slices): Use soft white bread or whole wheat sandwich bread. I prefer a sturdy brand like Nature’s Own or Dave’s Killer Bread for best texture. The bread needs to be soft enough to press but sturdy enough not to tear.
- Sunbutter (¼ cup): Sunflower seed butter is the star here. I recommend the SunButter brand because it has a smooth, creamy texture that spreads easily. Look for the no-sugar-added version if you want less sweetness. (Pro tip: store it upside down in the pantry so the oil distributes evenly.)
- Jelly or Jam (¼ cup): Any flavor works, but grape and strawberry are classics. Use seedless jam for the smoothest texture. I like Bonne Maman or Smucker’s Natural. (Use low-sugar jam if you prefer a less sweet sandwich.)
- Butter (1 tablespoon, softened): This is optional but makes the outside golden and crispy if you toast them. Use vegan butter if needed.
- Optional add-ins: A pinch of cinnamon, a drizzle of honey, or some chia seeds for extra nutrition.
When choosing your sunbutter, look for one that is smooth and well-stirred. Some brands separate a lot, so give it a good mix before using. I have tried several brands, and SunButter Natural Creamy is my favorite for spreading without tearing the bread. For the jelly, avoid anything with big fruit chunks or seeds, as they can make the sandwich lumpy and harder to press.
If you need a substitution, almond butter works for non-nut-free households, but for nut-free options, WowButter (soy-based) or pumpkin seed butter are great alternatives. Just note that different seed butters have different consistencies, so you may need to adjust the amount.
Equipment Needed
You do not need anything fancy to make these uncrustables. Here is what you will need:
- Uncrustables Mold or Large Round Cookie Cutter: This is the key tool. You can find a set of two on Amazon for under $10. If you do not have one, a wide-mouth mason jar ring or a large biscuit cutter works too.
- Rolling Pin: Helps flatten the bread slightly so the edges seal better. A wine bottle works in a pinch.
- Butter Knife: For spreading the sunbutter and jelly evenly.
- Cutting Board: A clean surface for assembly.
- Parchment Paper: To wrap the uncrustables for freezing.
- Freezer-Safe Bag: For storing batches.
I started with a cheap plastic mold from a dollar store, and honestly, it worked fine for months. The metal ones last longer and give a cleaner cut, but do not feel like you need to spend a lot. My favorite tip—run the mold under warm water before cutting if the edges stick. It makes a huge difference.
Preparation Method
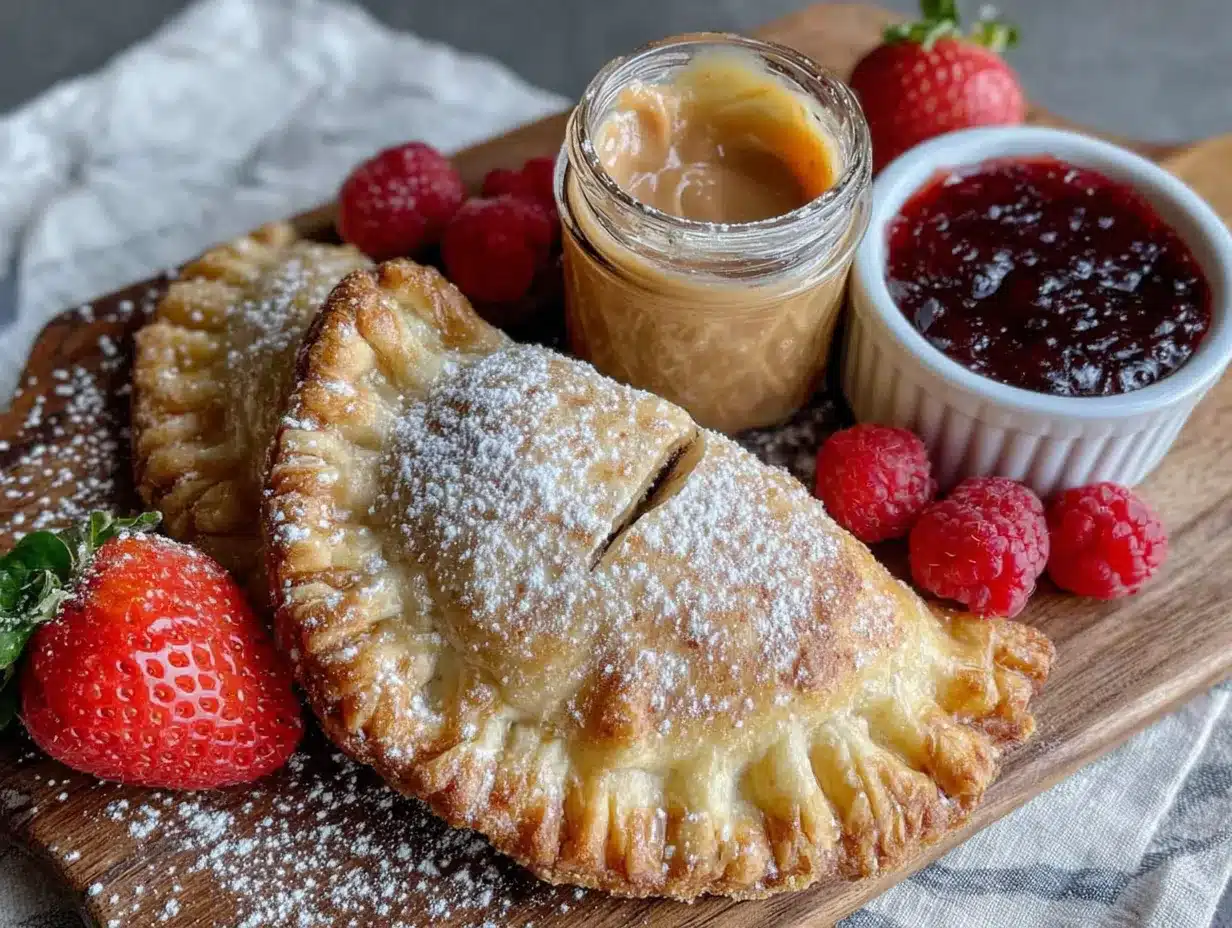
Making these sunbutter and jelly uncrustables is so simple you will wonder why you ever bought the frozen ones. Here is how I do it:
- Flatten the bread (1 minute): Take 8 slices of bread and gently roll over each one with a rolling pin. You want them slightly thinner but not paper-thin. This helps the edges seal better and prevents tearing. I press just enough to flatten the center slightly.
- Spread the sunbutter (2 minutes): On 4 slices of bread, spread about 1 tablespoon of sunbutter. Leave a ½-inch border around the edges so the seal holds. Do not overspread or it will leak out when you press. I use the back of a spoon to get an even layer.
- Add the jelly (1 minute): On the other 4 slices, spread about 1 tablespoon of jelly. Again, keep it away from the edges. Too much jelly makes the sandwich soggy and messy. A thin, even layer is perfect.
- Assemble the sandwiches (30 seconds): Place the sunbutter slices on top of the jelly slices, sunbutter side down. Press gently to stick them together. The sunbutter and jelly should be in the middle, not touching the edges.
- Cut with the mold (30 seconds per sandwich): Place the uncrustables mold over the sandwich, centering it so the filling is in the middle. Press down firmly to cut through the bread and seal the edges. You should hear a clean cut. If the edges are not sealed, press again with your fingers.
- Crimp the edges (optional, 30 seconds): If your mold does not crimp the edges perfectly, use a fork to press around the edge of the round sandwich. This creates a decorative seal and keeps the filling inside.
- Toast or serve (2 minutes): For a warm version, melt a little butter in a skillet and toast the uncrustable for 1-2 minutes per side until golden. For cold lunch boxes, serve them straight from the fridge or freezer.
Important warning: Do not skip flattening the bread. I learned this the hard way when my first batch fell apart in the lunch box. Flattened bread seals much better and holds up to the jelly moisture. Also, if the bread tears while spreading, just start over with a fresh slice—it is not worth the frustration.
Sensory cues: When you press the mold down, you should feel a clean resistance as the bread cuts. The edges should look compressed and slightly shiny from the press. If the jelly oozes out, you used too much. The finished uncrustable should feel firm but soft, with no sticky edges.
Cooking Tips & Techniques
I have made at least 200 of these over the past year, and I have learned a few things the hard way. Here is what I wish someone had told me:
Do not overfill. I know it is tempting to pile on the sunbutter and jelly, but trust me, less is more. A thin, even layer spreads better and stays inside the sandwich. My first batch looked like a jelly explosion, and my son ate it anyway, but the cleanup was awful.
Chill the bread first. If your bread is too soft, it tears easily. Pop the slices in the freezer for 5 minutes before assembling. Cold bread cuts cleaner and holds its shape better. This was a game-changer for me after a particularly frustrating morning when the bread kept ripping.
Use room temperature sunbutter. Cold sunbutter is stiff and tears the bread. Let it sit out for 10 minutes before spreading. If you forget, microwave it for 10 seconds and stir well. I keep my sunbutter in the pantry now instead of the fridge, and it spreads like a dream.
Make them in batches. I set aside 20 minutes on Sunday to make 12-16 uncrustables. They freeze beautifully, and then I have lunches ready for two weeks. Just grab one from the freezer in the morning, and it thaws by lunchtime. This has saved me so much morning chaos.
Watch the jelly consistency. Runny jelly makes soggy sandwiches. If your jelly is thin, stir in a teaspoon of chia seeds and let it sit for 5 minutes to thicken. This trick saved a batch of strawberry jelly that was too watery.
Variations & Adaptations
One of the best things about this recipe is how easy it is to change up. Here are some variations I have tried and loved:
- Vegan Version: Use vegan bread and skip the butter on the outside. The sunbutter and jelly are already plant-based, so this is an easy swap. I use whole wheat vegan bread, and it works perfectly.
- Gluten-Free Option: Swap the bread for your favorite gluten-free sandwich bread. Gluten-free bread is often more fragile, so be extra gentle when pressing the mold. Canyon Bakehouse makes a sturdy gluten-free bread that holds up well.
- Seasonal Twist: In the summer, use fresh strawberry jam or peach preserves. In the fall, try apple butter or pumpkin butter instead of jelly. My family loves the apple butter version with a pinch of cinnamon.
- Savory Version: For a lunch twist, swap the jelly for cream cheese and everything bagel seasoning. The sunbutter pairs surprisingly well with savory flavors. My husband steals these from the freezer all the time.
- Protein Boost: Add a spoonful of hemp seeds or chia seeds to the sunbutter before spreading. It adds fiber and protein without changing the taste. My son does not even notice.
I once made a batch with honey instead of jelly, and honestly, it was a little too sweet. Stick with tart jams like raspberry or blackberry if you want a balanced flavor. The sweet-salty combo is what makes these so addictive.
Serving & Storage Suggestions
These sunbutter and jelly uncrustables are incredibly versatile. Here is how I serve and store them:
Serving: Serve them cold straight from the fridge for a classic lunchbox treat. For a warm snack, toast them in a skillet with a little butter for 1-2 minutes per side until golden and crispy. The warm sunbutter gets melty and the jelly stays slightly cool—it is amazing. I also love packing them for picnics because they do not get soggy like regular sandwiches.
Storage: Place the uncrustables in a single layer on a baking sheet and freeze for 1 hour. Once frozen solid, transfer them to a freezer-safe bag or container. They keep for up to 3 months in the freezer. Label the bag with the date so you know when you made them.
Reheating: For a warm lunch, microwave a frozen uncrustable for 20-30 seconds. For a cold lunch, just pack it frozen in the lunchbox, and it will thaw by lunchtime. The bread stays soft and the filling stays in place. I have never had a complaint about texture.
Flavor development: The flavors actually get better after a day in the fridge. The sunbutter and jelly meld together, and the bread softens slightly. My son says they taste best on day two. If you can resist eating them all immediately, that is.
Pro tip: Wrap each uncrustable individually in parchment paper before freezing. This prevents them from sticking together and makes grabbing one for lunch super easy. I write the flavor on the paper so I know which ones are which.
Nutritional Information & Benefits
Here is the approximate nutritional breakdown for one sunbutter and jelly uncrustable (made with white bread, 1 tablespoon sunbutter, 1 tablespoon jelly):
| Nutrient | Amount |
|---|---|
| Calories | 210 |
| Total Fat | 9g |
| Saturated Fat | 1g |
| Sodium | 180mg |
| Total Carbohydrates | 28g |
| Fiber | 2g |
| Sugar | 10g |
| Protein | 6g |
Sunbutter is packed with vitamin E, magnesium, and healthy fats that support brain development and heart health. It is also a great source of plant-based protein, making these uncrustables a balanced lunch option for growing kids. The jelly provides quick energy from natural sugars, perfect for active mornings.
This recipe is naturally nut-free, peanut-free, and can easily be made gluten-free and vegan. It is free from the top eight allergens except for wheat (if using regular bread). Always check your sunbutter label to confirm it is processed in a nut-free facility if allergies are a concern.
I feel good sending my son to school with these because they have real ingredients and no artificial preservatives. Compared to the store-bought frozen uncrustables, these have less sugar and no hydrogenated oils. That is a win in my book.
Conclusion
These easy sunbutter and jelly uncrustables have genuinely changed our mornings. No more wrestling with bento boxes, no more crusts in the trash, no more worrying about nut allergies at school. Just a simple, delicious lunch that my son actually eats and enjoys. Honestly, that is all I ever wanted.
I encourage you to make a batch this weekend and see how they work for your family. Customize them with your favorite jelly, add a sprinkle of cinnamon, or try the savory version for yourself. The beauty of this recipe is how forgiving it is—you really cannot mess it up.
What is your favorite jelly flavor to use? I am always looking for new combinations to try. Drop a comment below and share your family’s favorite version. And if you make these, tag me in your photos—I love seeing uncrustables in the wild! Happy lunch packing, friends.
Frequently Asked Questions
Can I use any seed butter for this recipe?
Yes, absolutely! While sunbutter is my go-to for its creamy texture and mild flavor, you can use WowButter (soy-based), pumpkin seed butter, or even tahini. Just note that different seed butters have different consistencies—some are thinner and may make the bread soggy, so adjust the amount accordingly.
How long do these last in the freezer?
These uncrustables stay fresh in the freezer for up to 3 months. Just make sure they are wrapped tightly in parchment paper and stored in a freezer-safe bag. I recommend labeling the bag with the date so you know when you made them. They thaw perfectly in a lunchbox by lunchtime.
Can I make these without a special mold?
Definitely! If you do not have an uncrustables mold, use a wide-mouth mason jar ring or a large biscuit cutter. You can also just cut the sandwich into a round shape with a knife and press the edges with a fork to seal them. The shape does not matter as much as the seal.
Why does my sunbutter turn green when mixed with jelly?
Do not worry—this is totally normal! Sunbutter contains chlorophyll, which reacts with the baking soda in the bread and turns green when combined with acidic ingredients like jelly. It is completely safe to eat and does not affect the taste. This happens with baked goods too, so do not be alarmed.
Can I use homemade bread for these uncrustables?
Yes, but homemade bread is often softer and more delicate than store-bought bread. To make it work, slice the bread slightly thicker than usual and chill it in the freezer for 10 minutes before assembling. This helps the bread hold its shape when you press the mold. I have used homemade sourdough with great results.
Pin This Recipe!
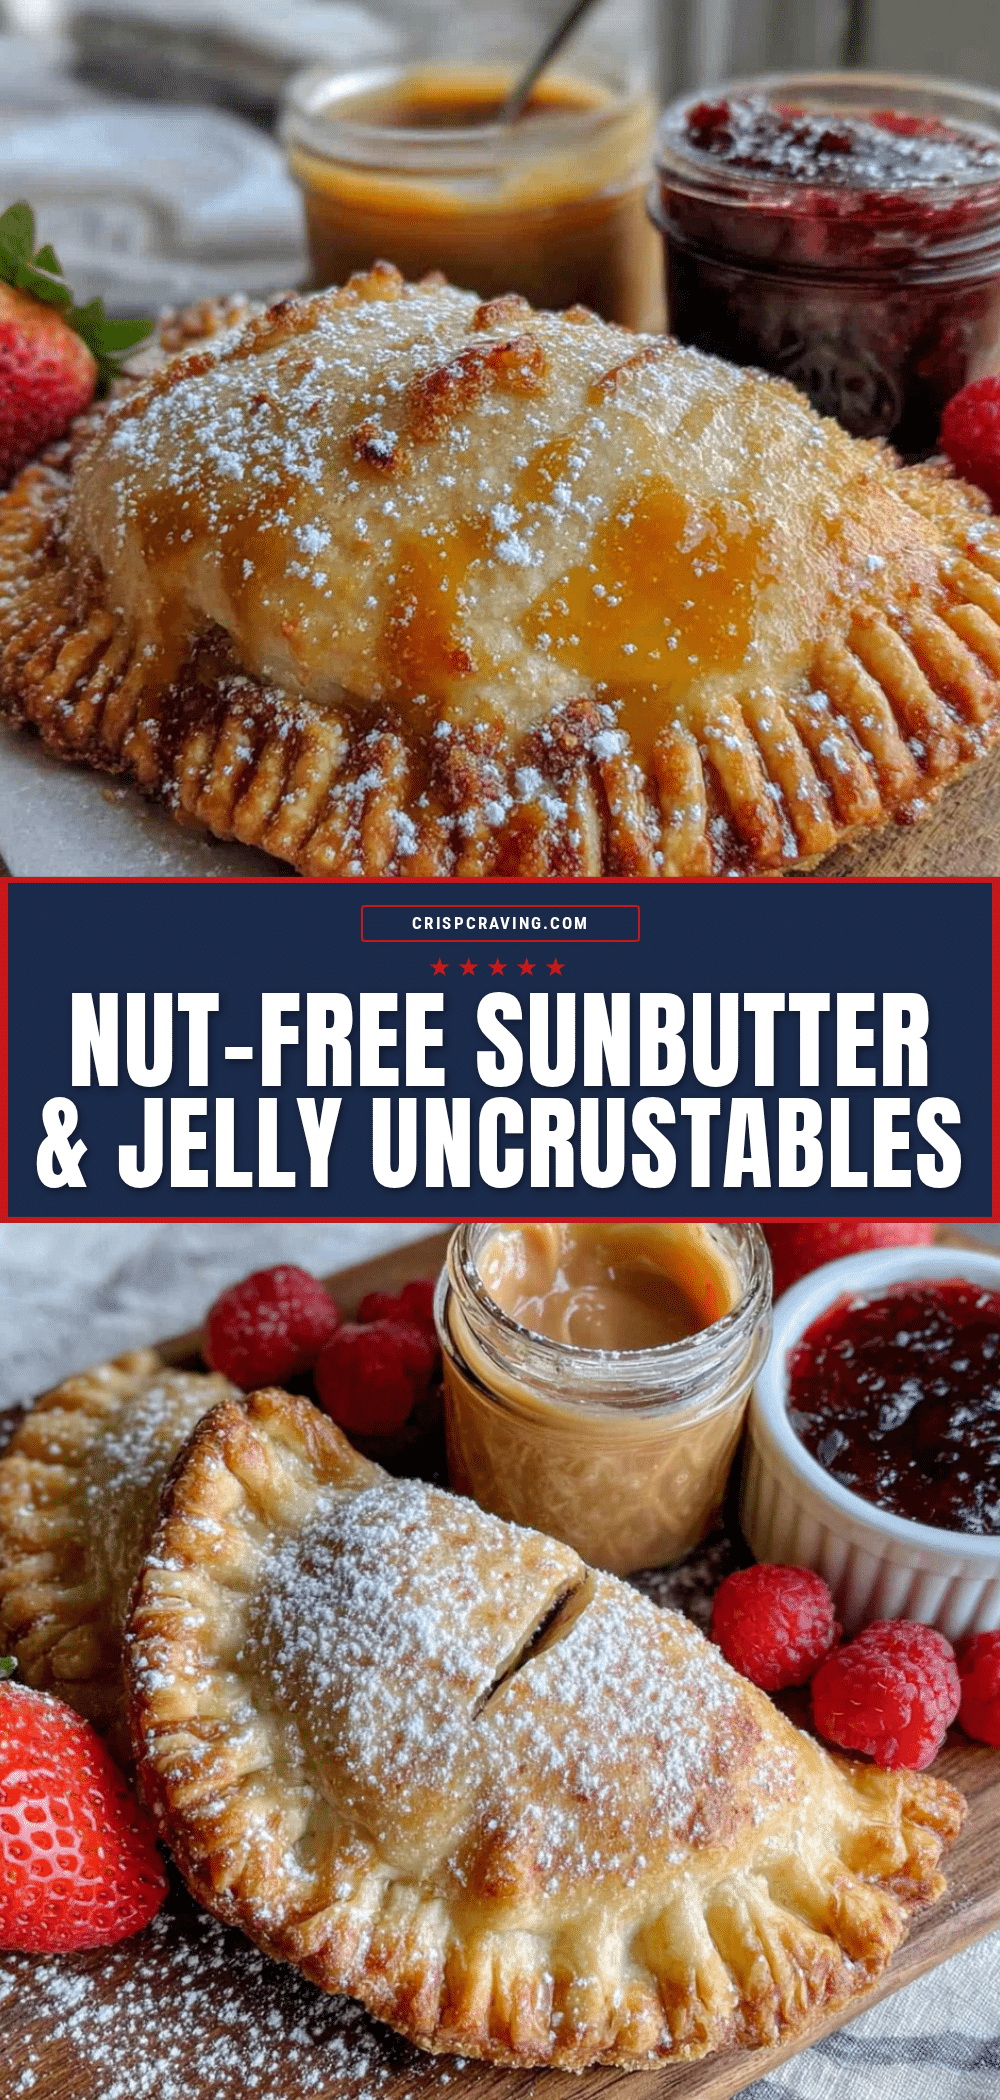
Easy Sunbutter and Jelly Uncrustables: Best Nut-Free Lunch

These homemade sunbutter and jelly uncrustables are the perfect nut-free lunch solution for kids. Quick to make, freezer-friendly, and absolutely delicious, they solve the problem of picky eaters and allergy-safe school lunches.
- Prep Time: 10 minutes
- Cook Time: 2 minutes
- Total Time: 12 minutes
- Yield: 4 servings 1x
- Category: Lunch
- Cuisine: American
Ingredients
- 8 slices soft white bread or whole wheat sandwich bread
- 1/4 cup sunbutter (sunflower seed butter), smooth and creamy
- 1/4 cup jelly or jam (grape or strawberry recommended)
- 1 tablespoon butter, softened (optional, for toasting)
- Optional: pinch of cinnamon, drizzle of honey, or chia seeds
Instructions
- Flatten the bread: Gently roll each slice of bread with a rolling pin until slightly thinner but not paper-thin.
- Spread the sunbutter: On 4 slices of bread, spread about 1 tablespoon of sunbutter, leaving a 1/2-inch border around the edges.
- Add the jelly: On the other 4 slices, spread about 1 tablespoon of jelly, keeping it away from the edges.
- Assemble the sandwiches: Place the sunbutter slices on top of the jelly slices, sunbutter side down. Press gently to stick together.
- Cut with the mold: Center the uncrustables mold over the sandwich and press down firmly to cut through the bread and seal the edges.
- Crimp the edges (optional): If needed, use a fork to press around the edge of the round sandwich for a decorative seal.
- Toast or serve: For a warm version, melt butter in a skillet and toast the uncrustable for 1-2 minutes per side until golden. For cold lunch boxes, serve straight from the fridge or freezer.
Notes
Do not skip flattening the bread—it helps the edges seal better. Chill the bread in the freezer for 5 minutes before assembling for cleaner cuts. Use room temperature sunbutter for easier spreading. Make in batches and freeze for up to 3 months. If jelly is too runny, stir in a teaspoon of chia seeds to thicken.
Nutrition
- Serving Size: 1 uncrustable
- Calories: 210
- Sugar: 10
- Sodium: 180
- Fat: 9
- Saturated Fat: 1
- Carbohydrates: 28
- Fiber: 2
- Protein: 6
Keywords: sunbutter and jelly uncrustables, nut-free lunch, school lunch ideas, easy lunch recipe, homemade uncrustables, kid-friendly lunch, freezer-friendly lunch



