Love this? Save it for later!
Share the inspiration with your friends
Last Thursday, I stopped by my neighbor Maria’s house to borrow an egg—a classic “I’m in the middle of baking and I’m one short” situation. She waved me in from the kitchen, and I swear, the smell hit me before I even got through the doorway. It was savory, buttery, and made my stomach growl in a way that was honestly a little embarrassing. I found Maria at her air fryer, pulling out a basket of golden-brown pork chops that looked like they belonged on a restaurant menu. “Oh, those are just dinner,” she said, shrugging like she’d done nothing special. She slid them onto a plate, and her two kids came running from the living room like someone had rung a dinner bell. I mean, if that’s not a sign of a winning recipe, I don’t know what is.
She handed me a taste—just one little piece she cut off the end—and I stood there in her kitchen, chewing, trying to figure out how she got that crust without any flour or breadcrumbs. The secret, she told me with a wink, was way simpler than I thought. No egg wash, no dredging station, no mess. I scribbled notes on the back of a receipt from her purse while her kids polished off their plates. Honestly, maybe you’ve been there—standing in someone else’s kitchen, realizing you’re about to change the way you cook forever. That was me, holding a borrowed egg and a stolen recipe idea.
I’ve made these Kid-Approved Crispy Air Fryer Pork Chops (No Breading) at least six times since that Thursday. They’ve saved me on busy weeknights, impressed my in-laws, and—most importantly—made my own kids actually ask for seconds of pork. That’s not nothing. Let me tell you, when a recipe comes together this fast, with ingredients you already have, and makes everyone at the table happy, you hold onto it. So here it is, exactly the way Maria made it, with a few tweaks I’ve picked up along the way.
Why You’ll Love This Recipe
Let me be straight with you—I’ve tested a lot of pork chop recipes over the years. Some were dry. Some were complicated. Some required a cleanup that took longer than the actual cooking. These air fryer pork chops are none of those things. Here’s why they’ve become a staple in my kitchen:
- Quick & Easy: From fridge to table in under 20 minutes. No marinating, no breading station, no fuss. Perfect for those nights when you walk in the door at 5:30 and need dinner on the table by 6.
- Simple Ingredients: You likely have everything in your pantry and fridge right now. No trips to specialty stores, no weird ingredients your kids will side-eye.
- Perfect for Busy Weeknights: These chops are a lifesaver when you’re juggling homework, soccer practice, and that one meeting that ran long. They cook while you set the table.
- Crowd-Pleaser: My kids call them “meat cookies” (I don’t question it) and ask for them weekly. Even my picky eater, who usually pushes meat to the side of her plate, cleans her chop.
- Unbelievably Delicious: The outside gets this incredible crispy, golden crust without a speck of flour or breadcrumbs. The inside stays juicy and tender. It’s magic, honestly.
What makes this recipe different from every other pork chop recipe out there? It’s the technique. Instead of breading, you’re using a simple spice rub that creates a crust through the magic of the air fryer’s circulating heat. No gluten, no carbs from breading, no sticky fingers. And the flavor? The seasoning blend seeps into the meat while it cooks, so every bite is packed with taste, not just the outside. It’s comfort food reimagined—faster, healthier, and with the same soul-soothing satisfaction that makes you close your eyes after the first bite.
This recipe is the kind that makes you feel like a hero in the kitchen without breaking a sweat. Perfect for impressing your family on a random Tuesday, or turning a simple dinner into something your kids will actually remember.
What Ingredients You Will Need
This recipe uses simple, everyday ingredients to deliver big flavor and that irresistible crispy texture. You probably have most of these in your kitchen already—that’s the beauty of it.
- Boneless pork chops, about 1-inch thick (4-6 ounces each) – Look for chops with a nice pink color and some marbling. Thin chops cook too fast and dry out; thick ones need longer. One inch is the sweet spot. I usually buy a pack of four to six, depending on how many I’m feeding.
- Olive oil, 2 tablespoons – This helps the seasoning stick and encourages browning. You can use avocado oil if you prefer, but olive oil gives a nice flavor. Don’t skip it—dry seasoning on dry meat won’t create that crust.
- Garlic powder, 1 teaspoon – Not the same as garlic salt! Garlic powder adds savory depth without extra sodium. I’m partial to the McCormick brand, but any works.
- Onion powder, 1 teaspoon – This rounds out the savory profile. It’s subtle but important—don’t leave it out.
- Paprika, 1 teaspoon – Smoked paprika if you have it (it adds a lovely smokiness), but regular sweet paprika works great too. This is what gives the chops that beautiful golden-red color.
- Dried thyme, 1/2 teaspoon – A little earthy, a little floral. Thyme pairs beautifully with pork. If you only have fresh, use 1 1/2 teaspoons, chopped fine.
- Salt, 1 teaspoon – I use fine sea salt. If you’re using kosher salt, you might need a bit more—about 1 1/2 teaspoons.
- Black pepper, 1/2 teaspoon – Freshly ground is always better, but pre-ground works in a pinch. Don’t be shy with it.
- Optional: Cayenne pepper, 1/4 teaspoon – Only if your family likes a little heat. My kids don’t, so I leave it out and add a pinch to mine before cooking. Gives the adults a little kick without ruining dinner for the little ones.
Ingredient Selection Tips: For the juiciest results, look for pork chops that aren’t labeled “extra lean.” A little bit of fat equals a lot of flavor and moisture. Also, let your chops sit at room temperature for about 10 minutes before seasoning—they’ll cook more evenly. If you’re feeding a crowd, you can easily double or triple this recipe. Just make sure not to overcrowd the air fryer basket; cook in batches if needed.
Substitution Guidance: No pork chops? Boneless chicken thighs work beautifully with this same seasoning blend—just adjust the cooking time (about 12-14 minutes at 400°F). Need it lower sodium? Reduce the salt to 1/2 teaspoon and add a pinch more garlic powder and paprika to keep the flavor punch. For a dairy-free meal (not that there’s dairy in this, but just in case you’re pairing it with something), these chops are naturally dairy-free and gluten-free.
Equipment Needed
You don’t need much for this recipe, and that’s part of the appeal. Here’s what you’ll need:
- Air fryer – Any size works, but a basket-style air fryer (like a Cosori or Ninja) gives the best air circulation. If you have an oven-style air fryer, just make sure the chops aren’t overlapping. I use a 5.8-quart Cosori and can fit four chops comfortably.
- Small bowl – For mixing your spice rub. Nothing fancy, just something to stir in.
- Measuring spoons – For accurate seasoning. I’ve eyeballed it before and ended up with salty chops. Trust the spoons.
- Tongs – For flipping the chops halfway through. Metal or silicone, doesn’t matter. Just don’t use your fingers—hot oil splatters are no joke.
- Paper towels – To pat the pork chops dry before seasoning. This is crucial for that crispy crust.
- Cutting board and knife – Only if you need to trim excess fat. Most boneless chops are ready to go as-is.
Budget-Friendly Options: Don’t have an air fryer yet? You can make these in a convection oven at 400°F for about 15-18 minutes, flipping halfway. The crust won’t be quite as crispy, but it’ll still be good. Also, skip the fancy tongs—a spatula works fine for flipping. And honestly, I’ve used a butter knife to mix the spices when all my spoons were dirty. We’ve all been there.
Preparation Method
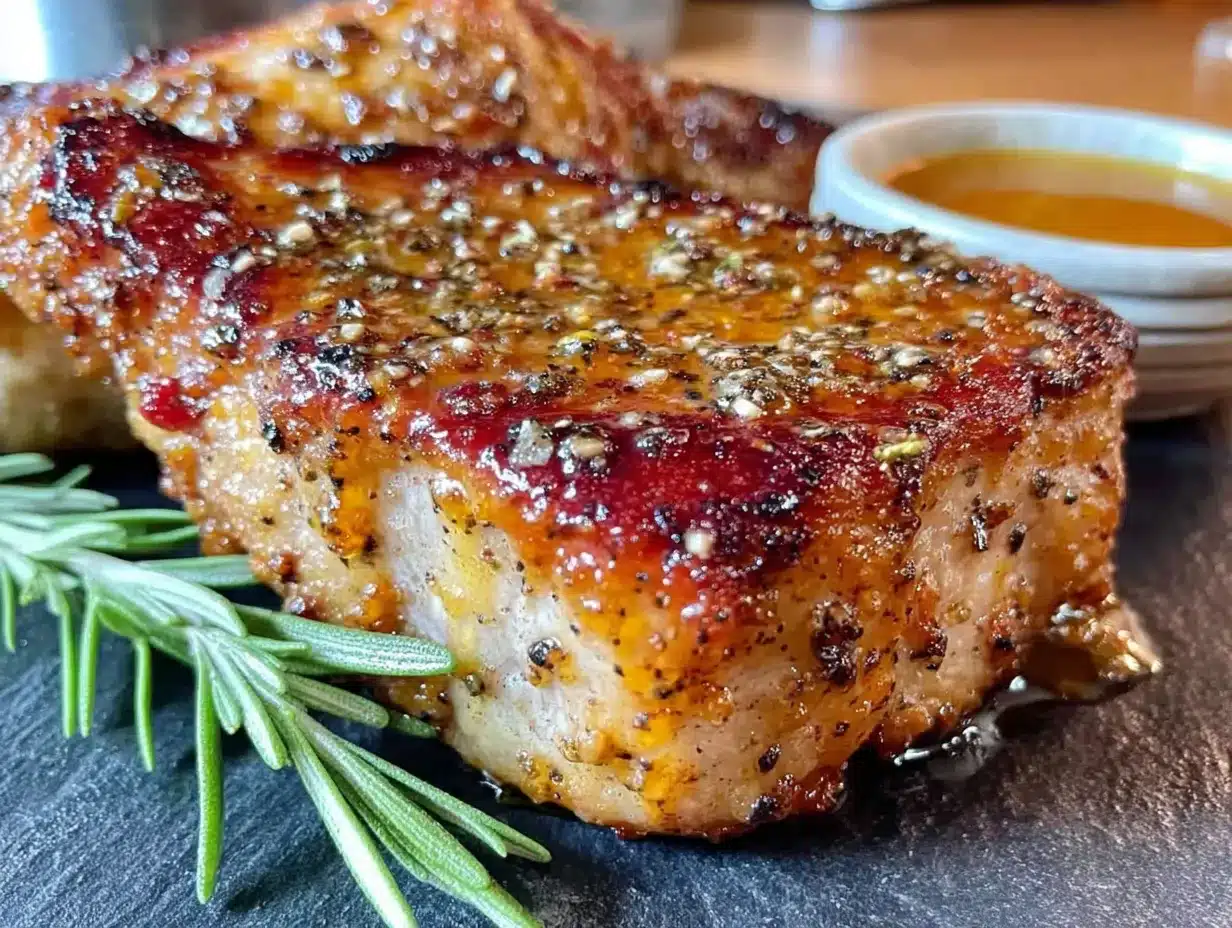
Alright, let’s get cooking. This comes together fast, so read through the steps once before you start. Trust me, you’ll have these on the table before you know it.
- Pat the pork chops dry. Take your boneless pork chops out of the package and lay them on a plate. Grab a paper towel and pat each chop dry on both sides. This is not a step to skip—wet meat won’t get crispy. It’ll steam instead. You want the surface as dry as possible. (Sensory cue: The paper towel should come away damp, not soaked. If they’re really wet, use a second towel.)
- Mix the seasoning. In your small bowl, combine 1 teaspoon garlic powder, 1 teaspoon onion powder, 1 teaspoon paprika, 1/2 teaspoon dried thyme, 1 teaspoon salt, and 1/2 teaspoon black pepper. If you’re using the optional cayenne, add it now. Stir it all together with a fork or your finger. (Sensory cue: The paprika should give the mixture a warm reddish-brown color. Give it a sniff—it should smell savory and slightly smoky.)
- Season the chops. Drizzle the 2 tablespoons of olive oil over both sides of the pork chops. Use your hands (clean ones!) or a brush to spread it evenly. Then sprinkle the seasoning mixture over both sides, pressing it gently into the meat. Don’t be shy—use it all. Make sure every surface is covered. (Personal tip: I do this on a cutting board so I can catch any seasoning that falls off and rub it back on.)
- Preheat your air fryer. Set your air fryer to 400°F (200°C) and let it preheat for 3-5 minutes. Most air fryers heat up fast, but starting with a hot basket makes a difference in that initial sear. (Troubleshooting: If your air fryer doesn’t have a preheat button, just run it empty for 3 minutes at 400°F.)
- Arrange the chops in the basket. Place the seasoned pork chops in the air fryer basket in a single layer. Do not overlap them. They need space for the hot air to circulate and create that crust. If you’re cooking more than 4 chops, do them in batches. (Sensory cue: You should be able to see the basket between each chop. If they’re touching, they won’t crisp where they touch.)
- Cook for 8 minutes. Set the timer for 8 minutes at 400°F. Resist the urge to open the basket and peek—every time you open it, you let out heat. Let the air fryer do its thing. (Time note: Set a separate timer if your air fryer doesn’t beep loudly. I’ve forgotten and ended up with slightly overdone chops.)
- Flip and cook again. After 8 minutes, carefully open the basket and use your tongs to flip each pork chop. They should be golden brown on the bottom. Close the basket and cook for another 5-7 minutes, depending on thickness. For 1-inch thick chops, 5 minutes is usually perfect. (Safety warning: The basket is hot. Don’t touch it with bare hands. And watch out for steam when you open it.)
- Check for doneness. The internal temperature should reach 145°F (63°C) when measured with a meat thermometer inserted into the thickest part. If you don’t have a thermometer, cut into the thickest chop—the juices should run clear and the meat should be white all the way through with no pink. (Personal experience: I’ve overcooked these before, and they’re still edible, just a little dry. 145°F is your target. Pull them out right when they hit it.)
- Rest before serving. Transfer the cooked pork chops to a clean plate and let them rest for 3-5 minutes. This lets the juices redistribute so every bite is juicy. I know you’re hungry, but don’t skip this. (Sensory cue: The chops will be sizzling and fragrant. Give them those few minutes—the crust will stay crispy, I promise.)
- Serve and enjoy. That’s it. Plate them up with your favorite sides and watch everyone dig in. (Personal tip: I like to sprinkle a tiny pinch of flaky sea salt on top right before serving. It adds a little crunch and a pop of saltiness that’s just perfect.)
Cooking Tips & Techniques
I’ve made these chops enough times to learn a few things the hard way. Let me save you the trouble.
Don’t skip the patting-dry step. I know it seems fussy, but moisture is the enemy of crispiness. One time I was in a hurry and skipped it, and the chops came out with a pale, rubbery exterior instead of that beautiful golden crust. Never again. Take the extra 30 seconds.
Let the chops come to room temperature. If you season cold chops straight from the fridge and throw them in the air fryer, they’ll cook unevenly—the outside will be done before the inside. Let them sit on the counter for 10-15 minutes after seasoning. Not long enough to be unsafe, just long enough to take the chill off.
Don’t overcrowd the basket. I learned this one the hard way when I tried to cram six chops into my air fryer. They steamed instead of crisped, and I ended up with sad, flabby pork. Cook in batches if you need to. The extra 10 minutes is worth it for that perfect crust.
Flip with confidence. When you flip the chops at the 8-minute mark, use tongs and do it quickly. The less time the basket is open, the less heat escapes. I used to fuss around, trying to get them perfectly positioned, and my cooking time would stretch out. Now I flip them fast and close the basket. Simple.
Use a meat thermometer. This is the single best investment you can make for cooking meat. Pork chops are easy to overcook, and a thermometer takes the guesswork out. I use a simple instant-read one that cost me $12, and it’s saved countless dinners. 145°F, pull them out, rest them. Done.
Timing strategy for a full meal: Start your sides first—rice, roasted veggies, or a salad—and time them to finish when the chops are resting. I usually start my rice, then prep the chops while it cooks. By the time the rice is done, the chops are ready to go in the air fryer. Everything lands on the table at the same time.
Variations & Adaptations
This recipe is a great base, and I’ve played around with it quite a bit. Here are some variations you might love:
- Spicy Chipotle Version: Replace the paprika with 1 teaspoon chipotle powder and add an extra 1/4 teaspoon cayenne. The smoky heat is incredible. My husband loves this version, but I keep it separate from the kids’ chops—just season theirs first, then add the heat to mine.
- Lemon-Herb Twist: Add 1 teaspoon dried rosemary (crushed between your fingers) and 1/2 teaspoon lemon zest to the seasoning mix. The lemon brightens up the pork beautifully. I tried this one Sunday afternoon when I had a lemon about to go bad, and it’s been a repeat performance.
- Italian-Inspired: Swap the thyme for 1 teaspoon dried oregano and add 1/2 teaspoon dried basil. Serve with a side of marinara for dipping—my kids love this. It feels like a fun, casual dinner, and the dipping makes it feel special to them.
- Dietary Adaptations: These are naturally gluten-free, dairy-free, and low-carb. If you’re watching sodium, cut the salt to 1/2 teaspoon and add extra garlic powder and paprika for flavor. For a keto-friendly meal, serve with roasted broccoli or cauliflower mash.
- Different Cooking Method: No air fryer? Bake at 400°F on a wire rack set over a baking sheet for 15-18 minutes, flipping halfway. The wire rack lets air circulate underneath, which helps with crisping. It’s not quite as good as the air fryer, but it’s close. You can also pan-sear them in a cast-iron skillet with a little oil for 4-5 minutes per side, then finish in a 400°F oven for 5-7 minutes.
Serving & Storage Suggestions
These pork chops are versatile and pair well with just about anything. Here’s how I like to serve them and keep them for later.
Serving Temperature and Presentation: Serve the chops hot out of the air fryer, right after their 5-minute rest. I arrange them on a platter with a sprinkle of fresh parsley or a pinch of flaky salt on top. They look beautiful next to a pile of roasted green beans or a scoop of creamy mashed potatoes. For a fun family dinner, I sometimes slice the chops into strips and serve them on a big board with dipping sauces—ketchup for the kids, a spicy mayo for the adults.
Complementary Sides: These chops go with everything. Try them with garlic butter rice, roasted asparagus, a simple side salad, or sweet potato wedges. For a low-carb option, I love them with cauliflower mash or sautéed spinach with garlic. And honestly, they’re even good cold the next day, sliced over a lunch salad.
Storage Instructions: Leftover pork chops keep well in an airtight container in the refrigerator for up to 3 days. Let them cool completely before storing, but don’t leave them out for more than 2 hours. I usually pack them for my husband’s lunch the next day—he reheats them and says they’re still great.
Reheating Methods: The air fryer is your best friend here. Reheat at 350°F for 3-4 minutes, flipping halfway. They’ll crisp right back up. You can also use a skillet over medium heat with a splash of water or broth, covered, for about 3 minutes. Avoid the microwave—it makes the crust soggy and the meat rubbery. I’ve made that mistake, and it’s just sad.
Flavor Development: These chops are best fresh, but the flavors actually meld a bit overnight. The seasoning seeps deeper into the meat, so leftovers have a more uniform taste. Not bad for day-old dinner, honestly.
Nutritional Information & Benefits
Here’s a rough estimate of the nutritional value per serving (one pork chop, based on a 4-ounce chop with the oil and seasoning):
- Calories: Approximately 220-250
- Protein: 26-28 grams
- Fat: 12-15 grams (mostly from the pork and olive oil)
- Carbohydrates: Less than 1 gram
- Fiber: 0 grams
- Sodium: 500-600 mg (varies with salt amount)
Health Benefits: Pork chops are a great source of high-quality protein, which is important for muscle repair and keeping you full. They also provide B vitamins, especially B12 and niacin, which support energy metabolism. The olive oil adds healthy monounsaturated fats. And since there’s no breading, this recipe is naturally low in carbs and gluten-free, making it suitable for keto, paleo, and low-carb diets.
Dietary Considerations: This recipe is naturally gluten-free, dairy-free, nut-free, and egg-free. If you’re watching your sodium, just reduce the salt. The only potential allergen to note is the pork itself—obviously not suitable for vegetarians or those avoiding meat.
Personal Wellness Perspective: I love that this recipe lets me put a protein-packed dinner on the table fast without relying on processed breading or complicated steps. It’s real food, simply prepared, and that feels good. Plus, knowing my kids are eating a solid source of protein without complaining? That’s a win in my book.
Conclusion
These Kid-Approved Crispy Air Fryer Pork Chops (No Breading) have honestly changed my weeknight dinner game. They’re fast, they’re simple, and they make everyone at the table happy—including me, because I’m not scrubbing breading off every surface in the kitchen afterward. The crust is crispy, the inside is juicy, and the whole thing comes together with ingredients I always have on hand.
I hope you give these a try and make them your own. Maybe you’ll add a little extra spice, or serve them with your family’s favorite dipping sauce. That’s the beauty of a simple recipe—it’s a starting point for your own kitchen adventures. And if your kids ask for seconds like mine do, you’ll know you’ve found something special.
I’d love to hear how they turn out for you! Drop a comment below and let me know if your family loved them as much as mine does. And if you came up with a fun variation, share that too—I’m always looking for new ideas. Happy cooking, friend!
Frequently Asked Questions
Can I use bone-in pork chops for this recipe?
Absolutely! Bone-in chops work great, but they’ll need a few extra minutes of cooking time—usually about 12-14 minutes total instead of 13-15. Just make sure they’re about 1-inch thick and use a meat thermometer to check for 145°F at the bone.
Why are my pork chops dry?
Dry pork chops usually mean they were overcooked or cooked at too high a temperature. Make sure you’re pulling them out at exactly 145°F internal temperature. Also, letting them rest for 5 minutes after cooking helps redistribute the juices. And don’t forget to pat them dry before seasoning—excess moisture can cause steaming instead of crisping, which leads to a different texture issue.
Can I make these ahead of time for meal prep?
You can season the pork chops up to 24 hours in advance and keep them covered in the refrigerator. When you’re ready to cook, let them sit at room temperature for 10 minutes first, then air fry as directed. Cooked leftovers reheat well in the air fryer at 350°F for 3-4 minutes.
What if I don’t have an air fryer?
No problem! You can bake these on a wire rack set over a baking sheet at 400°F for 15-18 minutes, flipping halfway. Or pan-sear them in a cast-iron skillet with a little oil for 4-5 minutes per side, then finish in a 400°F oven for 5-7 minutes. The crust won’t be quite as crispy as the air fryer version, but it’ll still be delicious.
Can I use this seasoning on chicken instead?
Yes! This seasoning blend is fantastic on boneless, skinless chicken thighs or breasts. For chicken breasts (about 6 ounces each), cook at 400°F for 12-14 minutes, flipping halfway. For thighs, cook for 14-16 minutes. Always check for an internal temperature of 165°F. It’s a great way to switch things up without learning a whole new recipe.
Pin This Recipe!
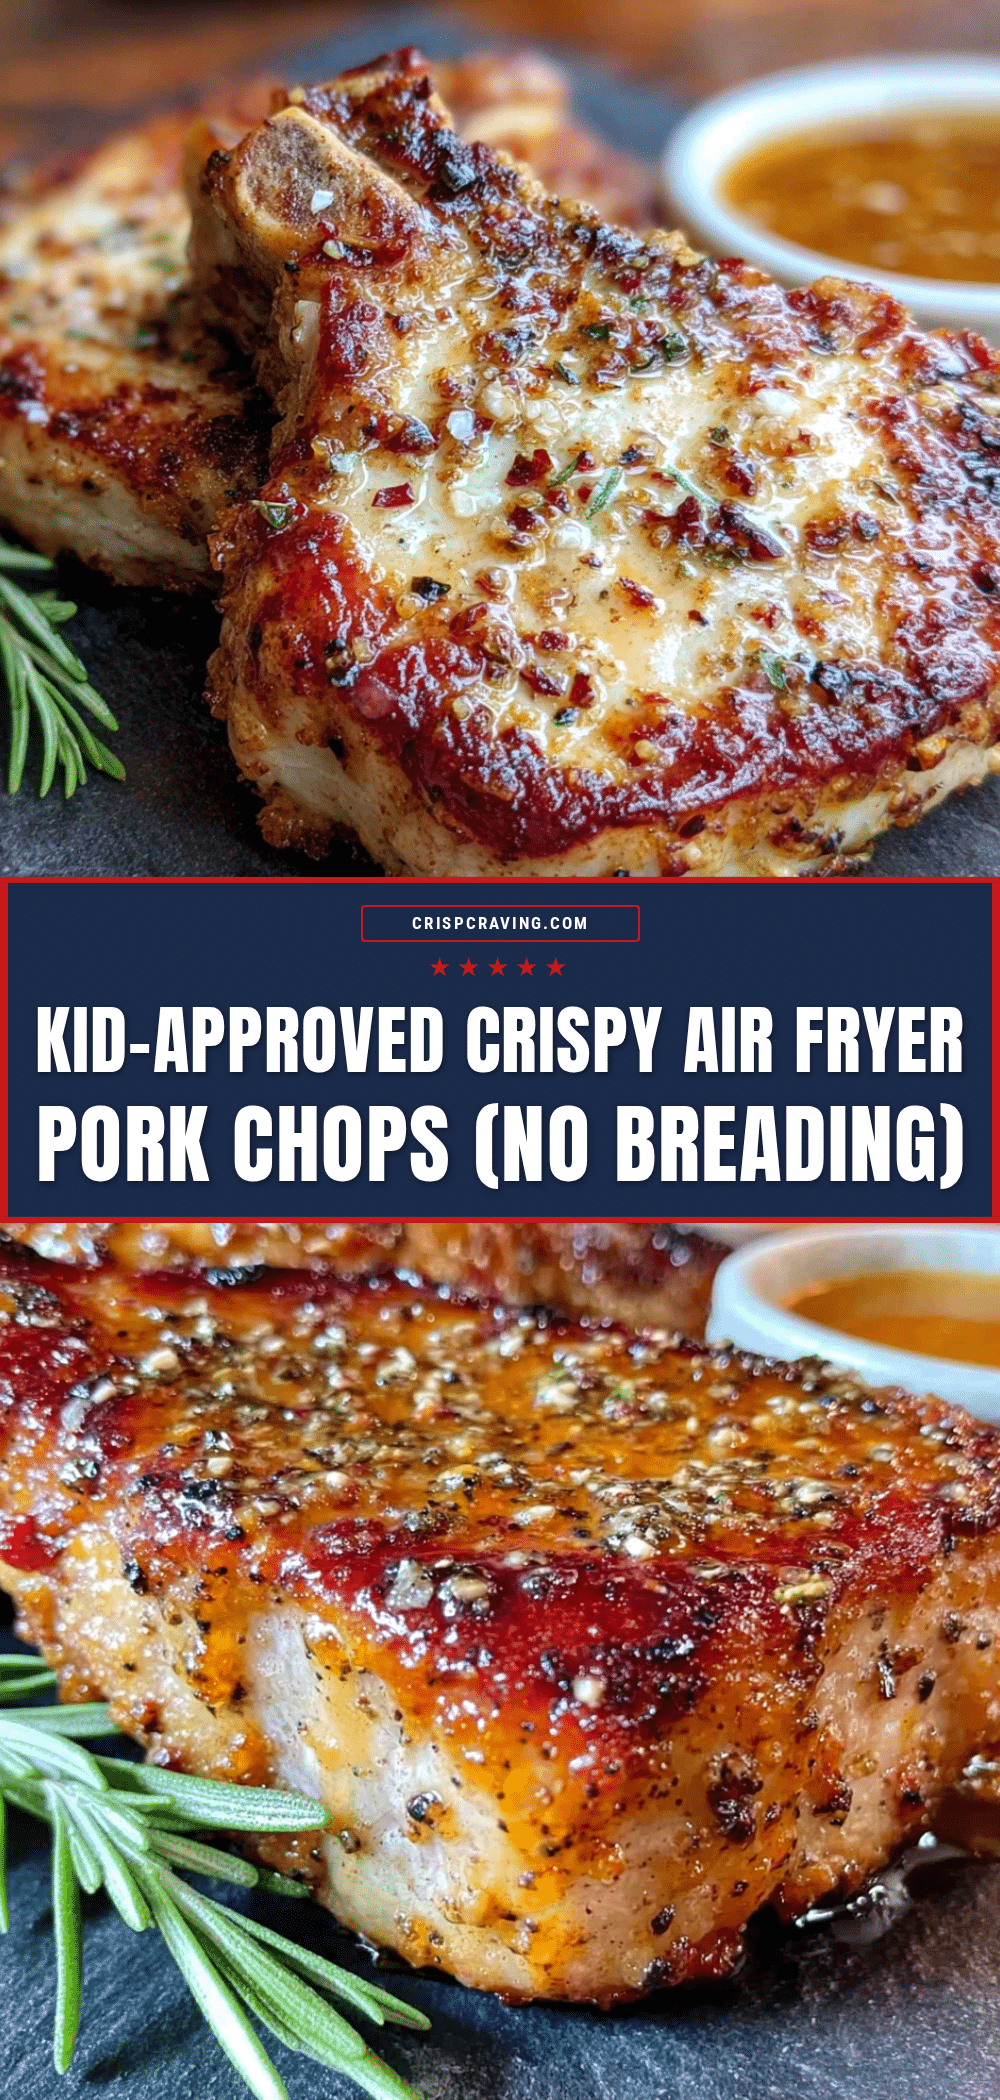
Kid-Approved Crispy Air Fryer Pork Chops (No Breading)

These air fryer pork chops are quick, easy, and incredibly crispy without any breading. Made with simple pantry ingredients, they’re a weeknight dinner hero that even picky kids love.
- Prep Time: 10 minutes
- Cook Time: 13-15 minutes
- Total Time: 23-25 minutes
- Yield: 4-6 servings 1x
- Category: Main Course
- Cuisine: American
Ingredients
- 4–6 boneless pork chops, about 1-inch thick (4–6 ounces each)
- 2 tablespoons olive oil
- 1 teaspoon garlic powder
- 1 teaspoon onion powder
- 1 teaspoon paprika (smoked or sweet)
- 1/2 teaspoon dried thyme
- 1 teaspoon fine sea salt
- 1/2 teaspoon black pepper
- 1/4 teaspoon cayenne pepper (optional)
Instructions
- Pat the pork chops dry with paper towels.
- In a small bowl, mix garlic powder, onion powder, paprika, dried thyme, salt, black pepper, and cayenne (if using).
- Drizzle olive oil over both sides of the pork chops and spread evenly. Sprinkle the seasoning mixture over both sides, pressing gently to adhere.
- Preheat the air fryer to 400°F (200°C) for 3-5 minutes.
- Place the seasoned pork chops in the air fryer basket in a single layer, without overlapping.
- Cook for 8 minutes at 400°F.
- Flip the pork chops using tongs and cook for another 5-7 minutes, until the internal temperature reaches 145°F (63°C).
- Remove from the air fryer and let rest for 3-5 minutes before serving.
Notes
For best results, let pork chops sit at room temperature for 10 minutes before seasoning. Do not overcrowd the air fryer basket; cook in batches if needed. Use a meat thermometer to ensure internal temperature reaches 145°F. Let chops rest after cooking to retain juiciness.
Nutrition
- Serving Size: 1 pork chop (4-ounce
- Calories: 235
- Sodium: 550
- Fat: 13.5
- Saturated Fat: 3.5
- Carbohydrates: 0.5
- Protein: 27
Keywords: air fryer pork chops, no breading pork chops, crispy pork chops, kid-friendly pork chops, quick pork chop recipe, gluten-free pork chops, low-carb pork chops



